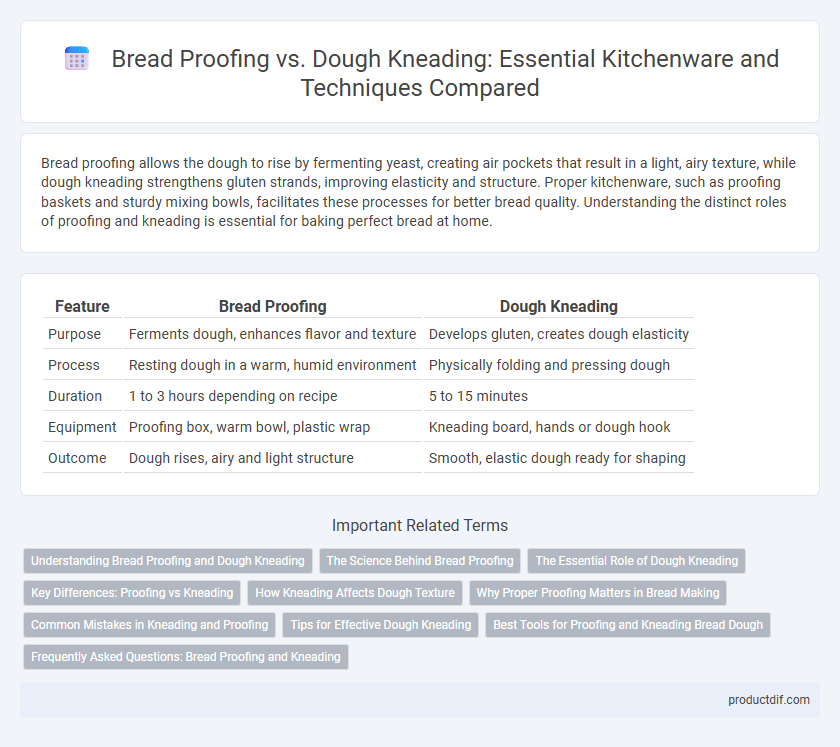
Bread proofing allows the dough to rise by fermenting yeast, creating air pockets that result in a light, airy texture, while dough kneading strengthens gluten strands, improving elasticity and structure. Proper kitchenware, such as proofing baskets and sturdy mixing bowls, facilitates these processes for better bread quality. Understanding the distinct roles of proofing and kneading is essential for baking perfect bread at home.
Table of Comparison
| Feature | Bread Proofing | Dough Kneading |
|---|---|---|
| Purpose | Ferments dough, enhances flavor and texture | Develops gluten, creates dough elasticity |
| Process | Resting dough in a warm, humid environment | Physically folding and pressing dough |
| Duration | 1 to 3 hours depending on recipe | 5 to 15 minutes |
| Equipment | Proofing box, warm bowl, plastic wrap | Kneading board, hands or dough hook |
| Outcome | Dough rises, airy and light structure | Smooth, elastic dough ready for shaping |
Understanding Bread Proofing and Dough Kneading
Bread proofing is the process where yeast ferments in the dough, producing carbon dioxide that causes the dough to rise and develop flavor. Dough kneading involves physically stretching and folding the dough to develop gluten networks, which give the bread structure and elasticity. Both processes are essential in bread-making, with proofing focusing on fermentation and dough kneading enhancing texture and strength.
The Science Behind Bread Proofing
Bread proofing activates yeast fermentation, producing carbon dioxide that causes dough to rise and develop gluten structure, essential for texture and flavor. Proper proofing temperature between 75degF and 85degF optimizes enzyme activity, enhancing starch breakdown and yeast reproduction. Understanding this biochemical process ensures consistent dough elasticity and a well-aerated crumb in baked bread.
The Essential Role of Dough Kneading
Dough kneading plays a crucial role in gluten development, which directly impacts the texture and rise of bread during proofing. Proper kneading ensures an even distribution of yeast and air bubbles, contributing to dough elasticity and structure. This process strengthens the dough, enabling it to trap gases effectively and achieve optimal volume during proofing.
Key Differences: Proofing vs Kneading
Bread proofing involves allowing dough to rest and ferment, enabling yeast to produce carbon dioxide for volume and texture development. Dough kneading is the mechanical process of working the flour and water mixture to develop gluten strands for elasticity and structure. Proofing impacts flavor and rise, while kneading shapes dough strength and consistency essential for final bread quality.
How Kneading Affects Dough Texture
Kneading dough develops gluten strands, which directly influence the dough's elasticity and chewiness of the final bread. Proper kneading creates a smooth, cohesive dough that traps gases produced during fermentation, leading to a well-risen, airy crumb structure. In contrast, insufficient kneading results in dense, crumbly bread with uneven texture.
Why Proper Proofing Matters in Bread Making
Proper proofing is crucial in bread making as it allows yeast to ferment, creating carbon dioxide that causes dough to rise and develop a light, airy texture. This process influences the bread's volume, crumb structure, and flavor, which cannot be achieved through kneading alone. Without adequate proofing, bread remains dense and lacks the desired softness and complex taste.
Common Mistakes in Kneading and Proofing
Common mistakes in dough kneading include over-kneading, which can result in tough, dense bread, and under-kneading, leading to poor gluten development and a crumbly texture. In bread proofing, inadequate proofing time causes dense loaves, while over-proofing leads to collapsed dough and weak structure. Proper temperature control and timing are essential in both kneading and proofing to achieve optimal bread texture and rise.
Tips for Effective Dough Kneading
Use a dough scraper to fold and stretch the dough efficiently during kneading, ensuring consistent gluten development for better bread texture. Maintain a slightly floured surface to prevent sticking while avoiding excess flour, which can dry out the dough and affect rise. Knead for 8 to 10 minutes until the dough is smooth and elastic, enabling optimal gas retention during proofing for a light, airy crumb.
Best Tools for Proofing and Kneading Bread Dough
Bread proofing requires tools like a dough proofer or a proofing basket (banneton) to maintain optimal humidity and shape, ensuring even fermentation and rise. Dough kneading benefits most from durable dough mixers or a sturdy wooden or silicone dough scraper for effective gluten development and smooth texture. Choosing the right proofing basket and stand mixer tailored for bread dough enhances quality and consistency in homemade bread.
Frequently Asked Questions: Bread Proofing and Kneading
Bread proofing involves allowing dough to rest and ferment, triggering yeast activity that produces carbon dioxide bubbles essential for dough rise and texture. Dough kneading is the physical process of working the dough to develop gluten strands, creating elasticity and strength necessary for structure. Proper timing and technique in both proofing and kneading directly impact bread volume, crumb quality, and overall flavor.
Bread Proofing vs Dough Kneading Infographic

 productdif.com